Modeling Service Security
Securing Services
Securing your services is as simple as applying a Secured stereotype to the service endpoint (Command, Query, or Operation).
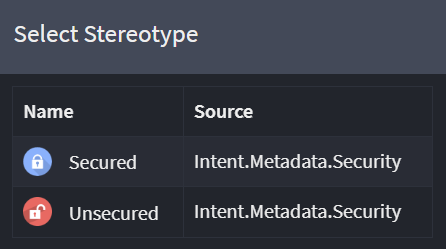
- Select your service endpoint and press F3 (Apply Stereotype).
- Select the
Securedstereotype.
Secured services require consumers to be authenticated to access them, further authorizations can be configured by setting up Roles or Policys against these endpoints.
Note
There is an application setting, "API Settings -> Default API Security" which configures whether endpoints are secured or unsecured by default.
The Secured and Unsecured stereotypes
This package provides a Secured and Unsecured stereotype which can be applied to the Service Packages, Services, Service Operations and CQRS Operations:
The Secured stereotype allows specifying that a resource is only accessible to authorized users and optionally that the authorized user must be within a Role or adhere to a security Policy.
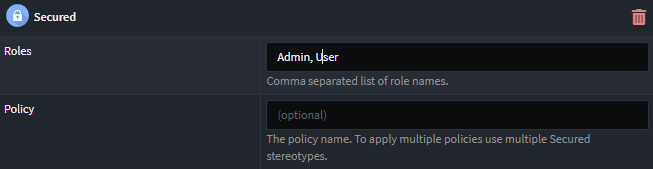
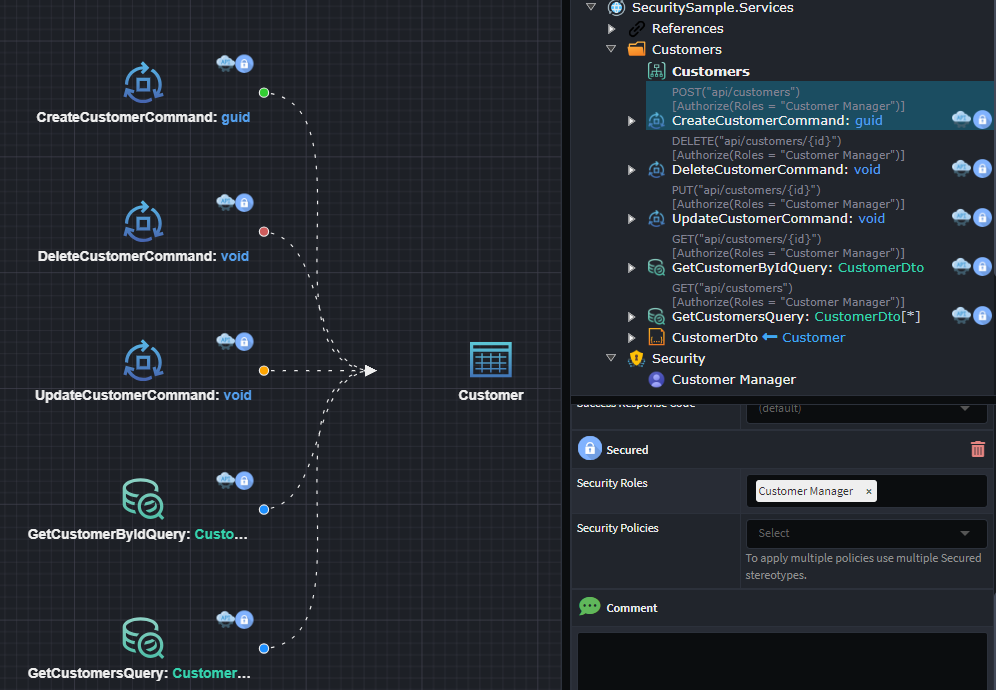
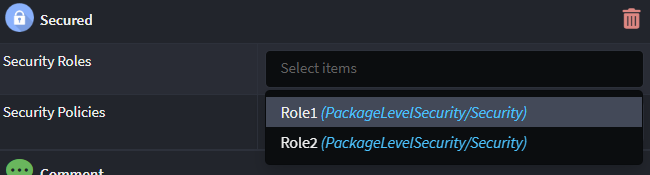
Depending on whether common Roles and Policies are defined, Roles and Policies are specified either by entering a comma separated list of names (as per the example above), or alternatively by selecting one or more pre-defined items from a dropdown as per the example below:
Role and Policy Behavior
When configuring the Secured stereotype:
Multiple Roles: If multiple roles are specified, the authorization check will succeed if the user belongs to any one of the listed roles. This defines a logical OR condition across the roles.
Multiple Policies: If multiple policies are required, the user must satisfy all specified policies for authorization to succeed. This defines a logical AND condition across the policies. To enforce multiple policies, apply the Secured stereotype multiple times-each instance specifying a different policy.
Unsecured
The Unsecured stereotype can be used to specify that a resource does not require a user to authenticated in order to be accessed. It is only necessary to apply this if you wish a particular resource to "opt-out" of being secure if a parent element/package or application setting would otherwise cause the resource to be secured implicitly.
Applying multiple Secured stereotypes to a resource
It is possible to have multiple Secured stereotypes applied to the same resource, either explicitly on the resource itself or through a parent of the resource (such as its parent Service or containing Service Package) also having the stereotype applied to it.
For most technologies when there are multiple Secured stereotypes applied it is required that the security requirement of all the Secured stereotypes are met.
Note
This can be technology dependent, for example with ASP.NET Core Controllers the above is true, while with FastEndpoints it is not possible to specify that an authenticated user be within all roles or meet the requirements of all policies.
Defining common Roles and Policies
Although it is sometimes convenient to simply enter comma separated values for Roles and Policies, in some circumstances it may be preferable to pre-define the available Roles and Policies and then only allow selection from these specifically. This has advantages such as:
- Being able to see a central list of available Role and Policy names.
- Allows centrally updating the name of a Role or Policy.
- Avoids mistakes of incorrectly using a mistyped or invalid Role/Policy names.
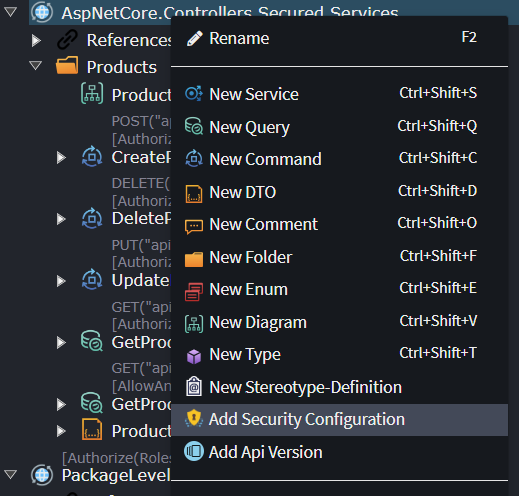
To define Roles and Policy names, you need to first have a security configuration added to your package, right-click a Services Package and select the Add Security Configuration option:
Note
If you don't see the option on the context menu, there may already be a Security element in the package, meaning there is no need to make an additional one.
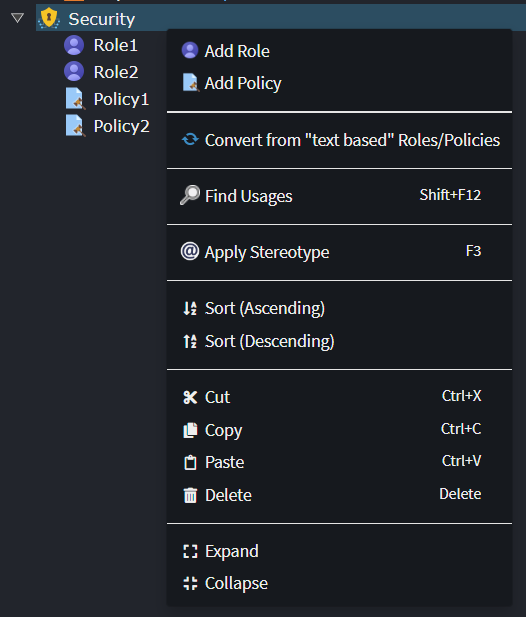
On the Security element you then have the option to Add Role, Add Policy and if you had already used comma separated roles there is an option to Convert from "text based" Roles/Policies which will update all existing Secured stereotypes to use pre-defined Role/Policy names, creating new ones as needed: