Intent.ContinuousIntegration.AzurePipelines
This module generates a basic azure-pipeline.yml file for Azure Pipelines which will:
- Build all
.csprojfiles in the repository. - Run unit tests for any
.csprojwhose name is suffixed withTests. - Run the Intent Architect Software Factory CLI tool to detect possible outstanding changes.
Creating a pipeline
This readme assumes you have some familiarity with Azure DevOps Pipelines, for more information on creating a Pipeline, refer to Microsoft's Create your first pipeline article.
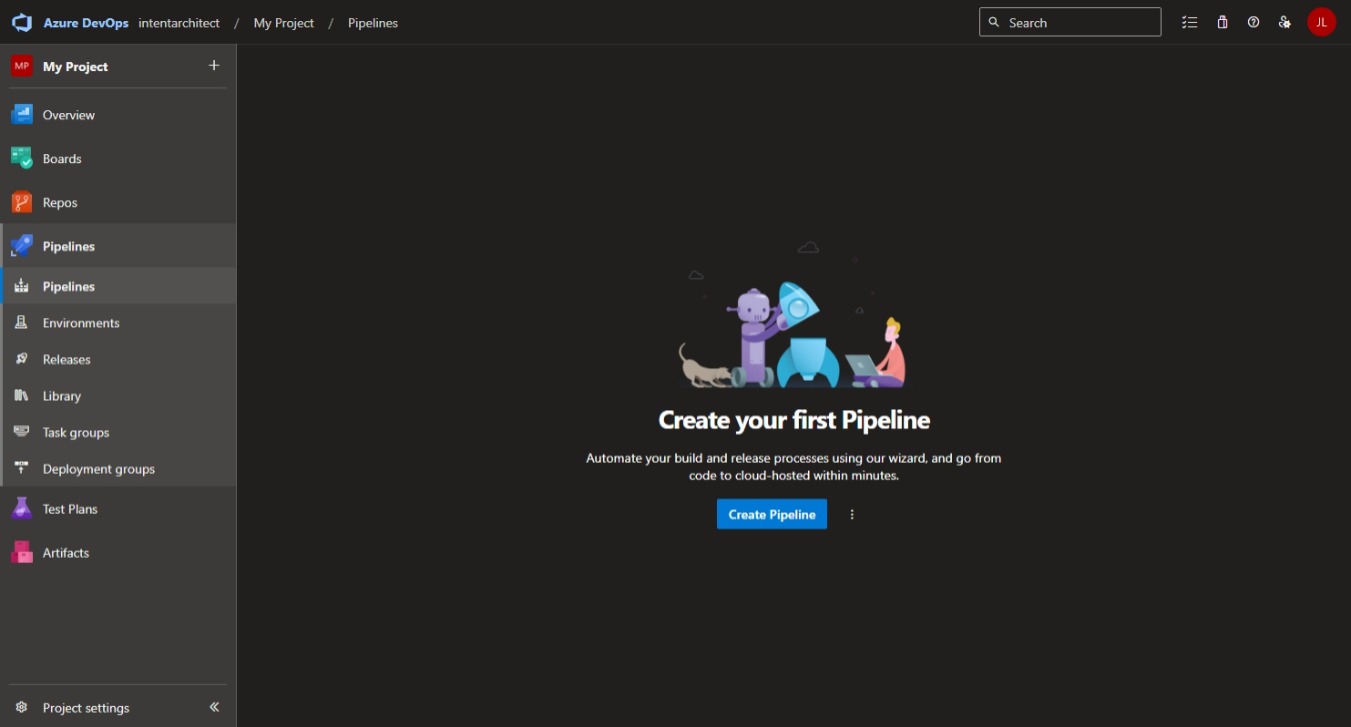
- Click on the
Pipelinesoption in the pane on the left. - Click the
Create Pipelinebutton.
- Follow the instructions on how to choose a source code repository.
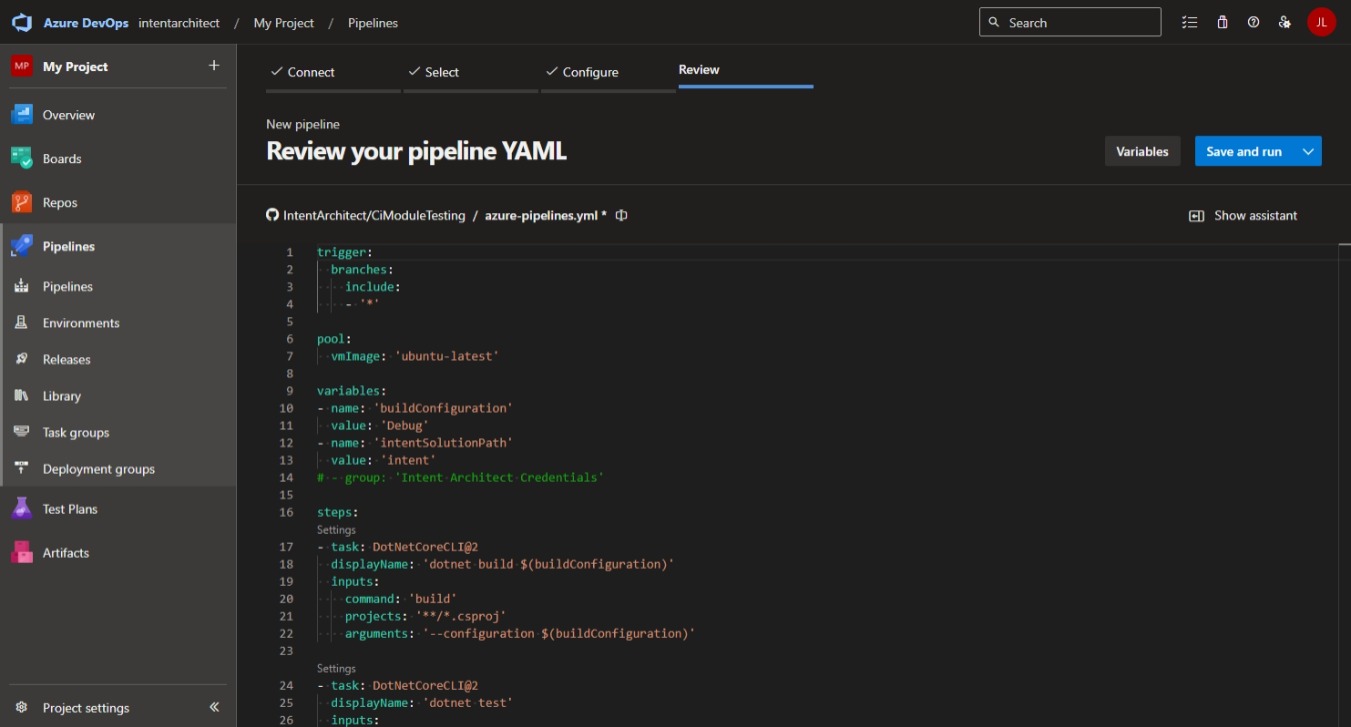
- After selecting your source code repository, it should automatically find the
azure-pipelines.ymlfile which you canSave and run:
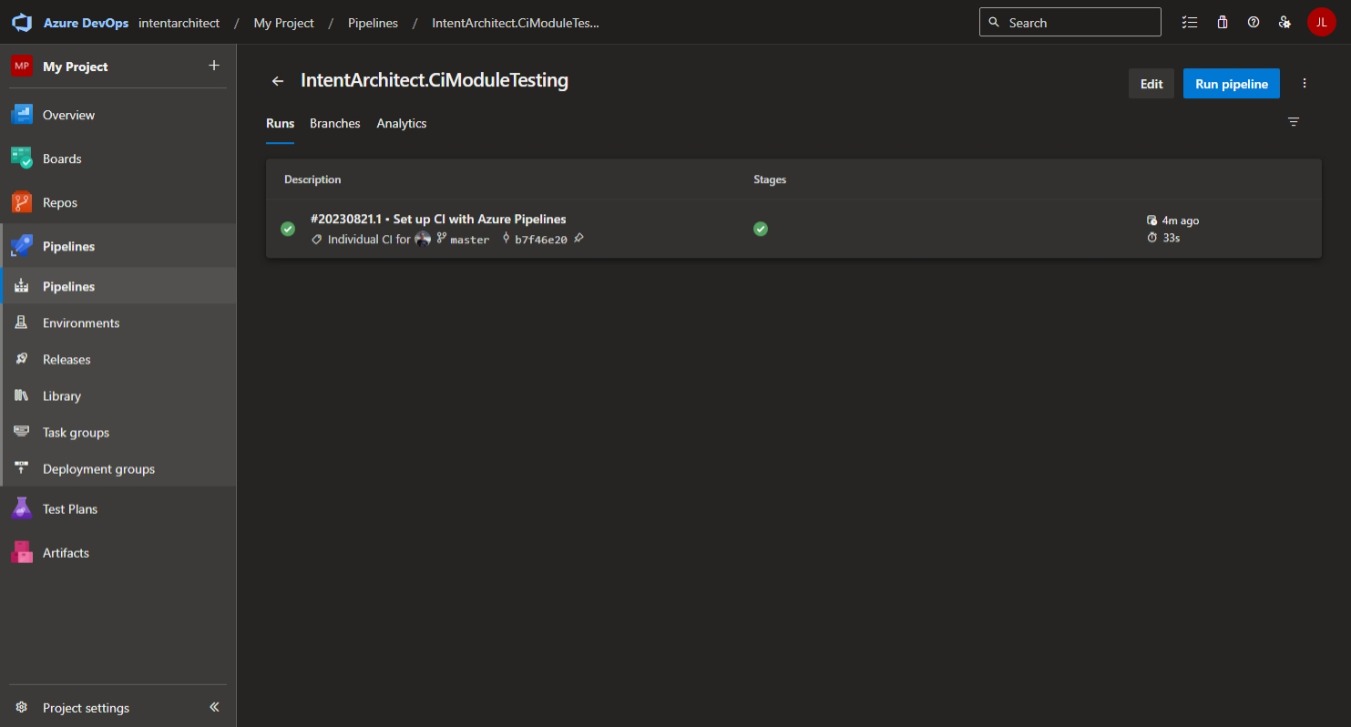
After the first run is complete, the pipeline should look somewhat like this:
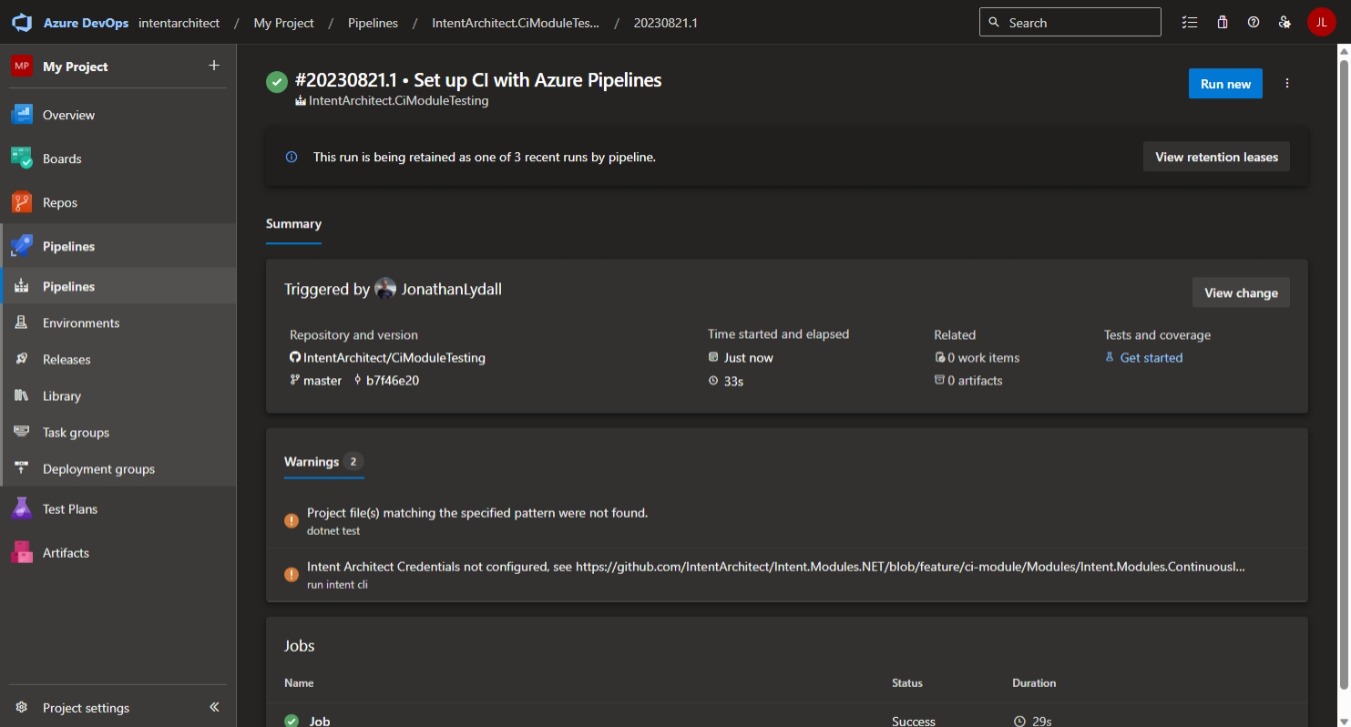
If you have a warning saying Project file(s) matching the specified pattern were not found., this is because it didn't locate any "Test" projects to run. Once you have added unit test projects, the warning should disappear. You will also need to ensure that your unit test project names are suffixed with Tests.
If you have a warning starting with Intent Architect Credentials not configured…, this is because you haven't yet configured Intent Architect Credentials for the pipeline.
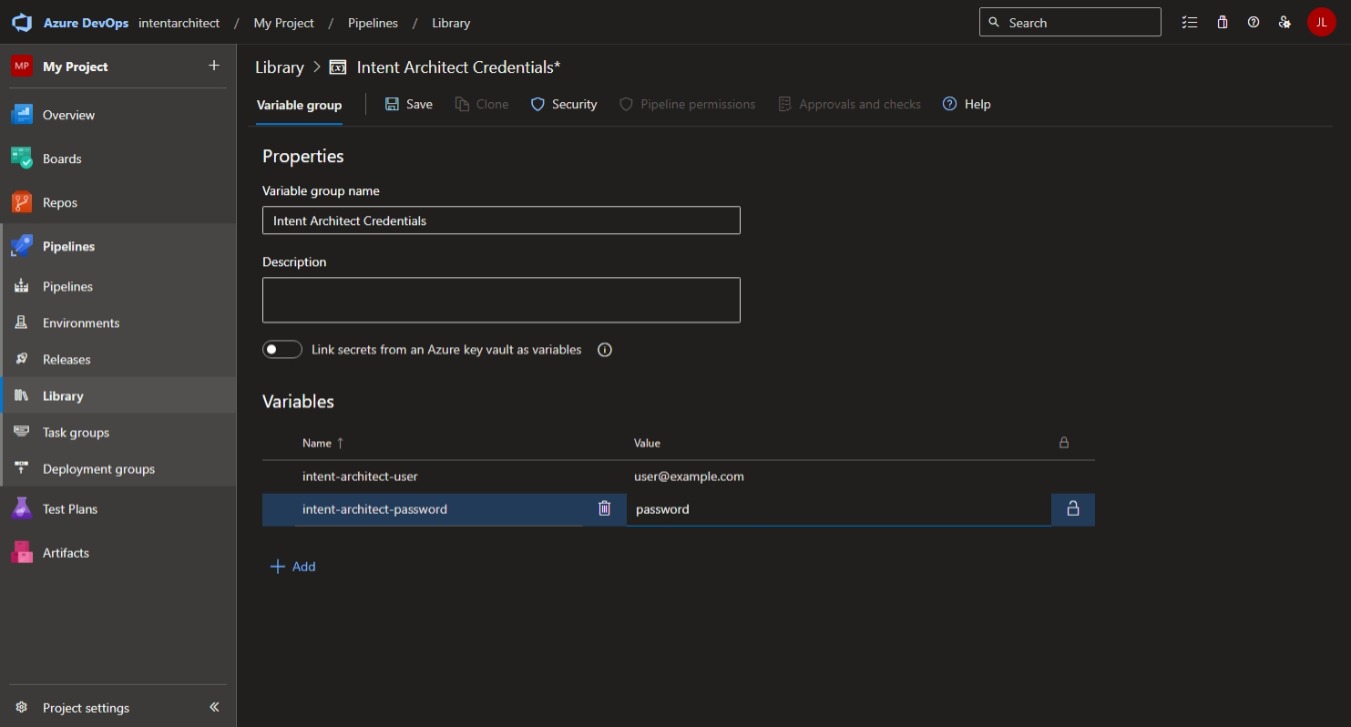
Configuring Intent Architect Credentials
Because valid Intent Architect account credentials are required to run the Intent Architect Software Factory CLI, some quick additional configuration will be required to make them available to the pipeline.
In the left navigation pane, go to Library.
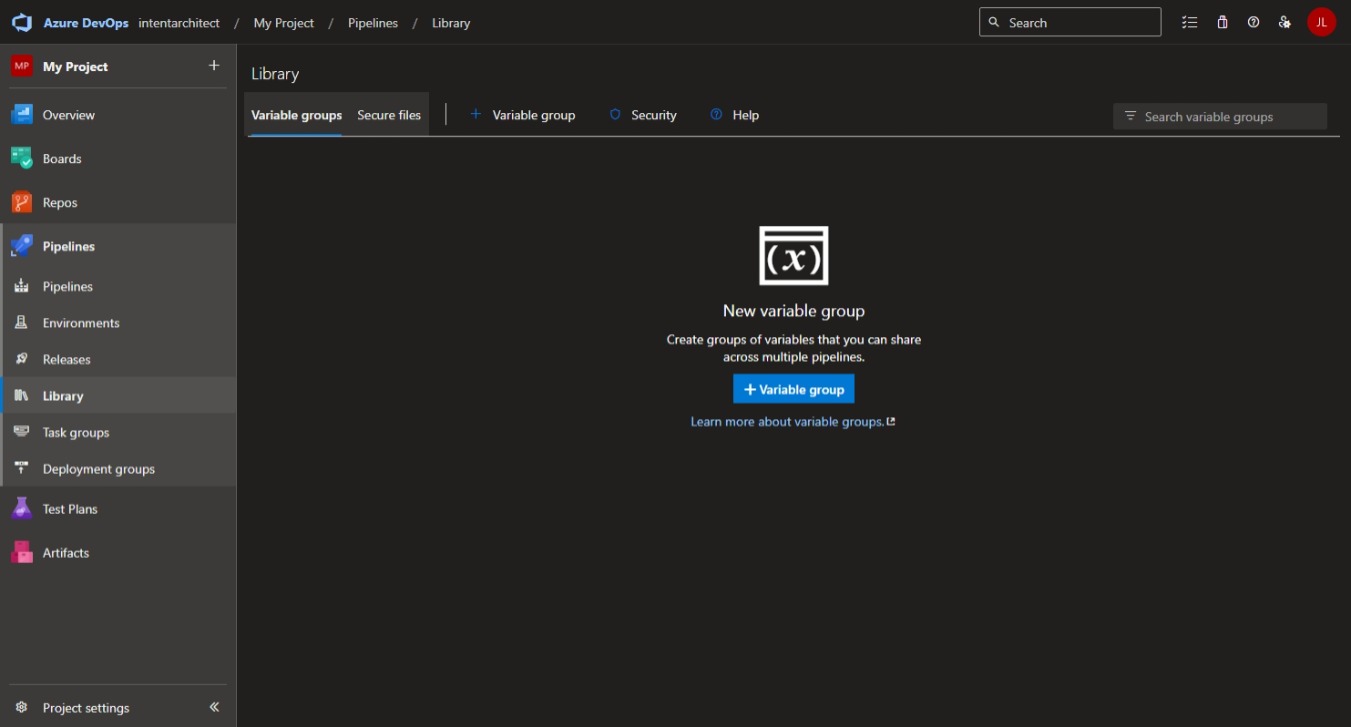
- Press the
+ Variable Groupbutton. - Use
Intent Architect Credentialsfor theVariable Group Name. - Under variables, press the
+ Addbutton. - For the
Nameenterintent-architect-userand for theValueenter the name of a valid Intent Architect account. - Under variables, press the
+ Addbutton again. - For the
Nameenterintent-architect-password, for theValueenter the password for the Intent Architect account and finally press the "Padlock" icon for this row which will make the variable secret.
Return to the Pipelines view by using the Pipelines option in the navigation pane on the left.
- Press the
Editbutton at the top right of the screen. - Uncomment the
# - group: 'Intent Architect Credentials'line by removing the leading#so that it becomes to- group: 'Intent Architect Credentials'.

Press the Save button at the top right of the screen.
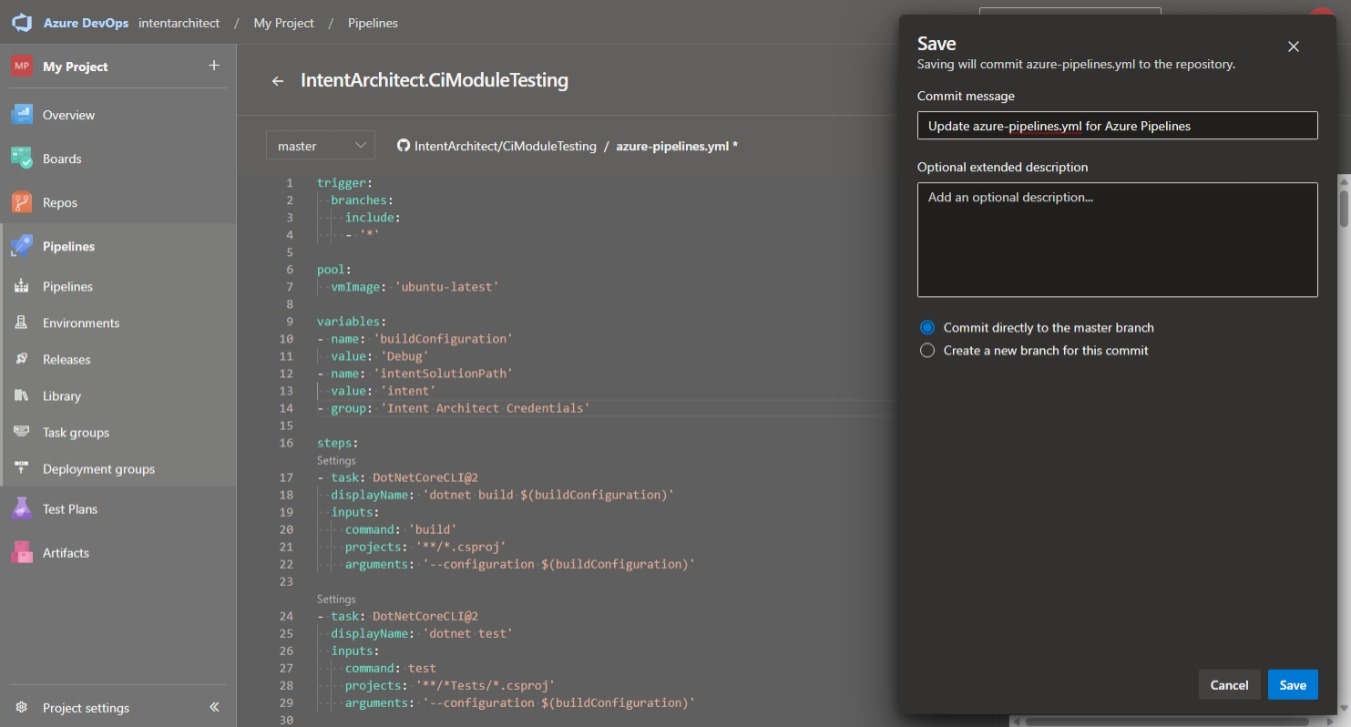
On the dialogue update any details as desired and press the Save button at the bottom right.
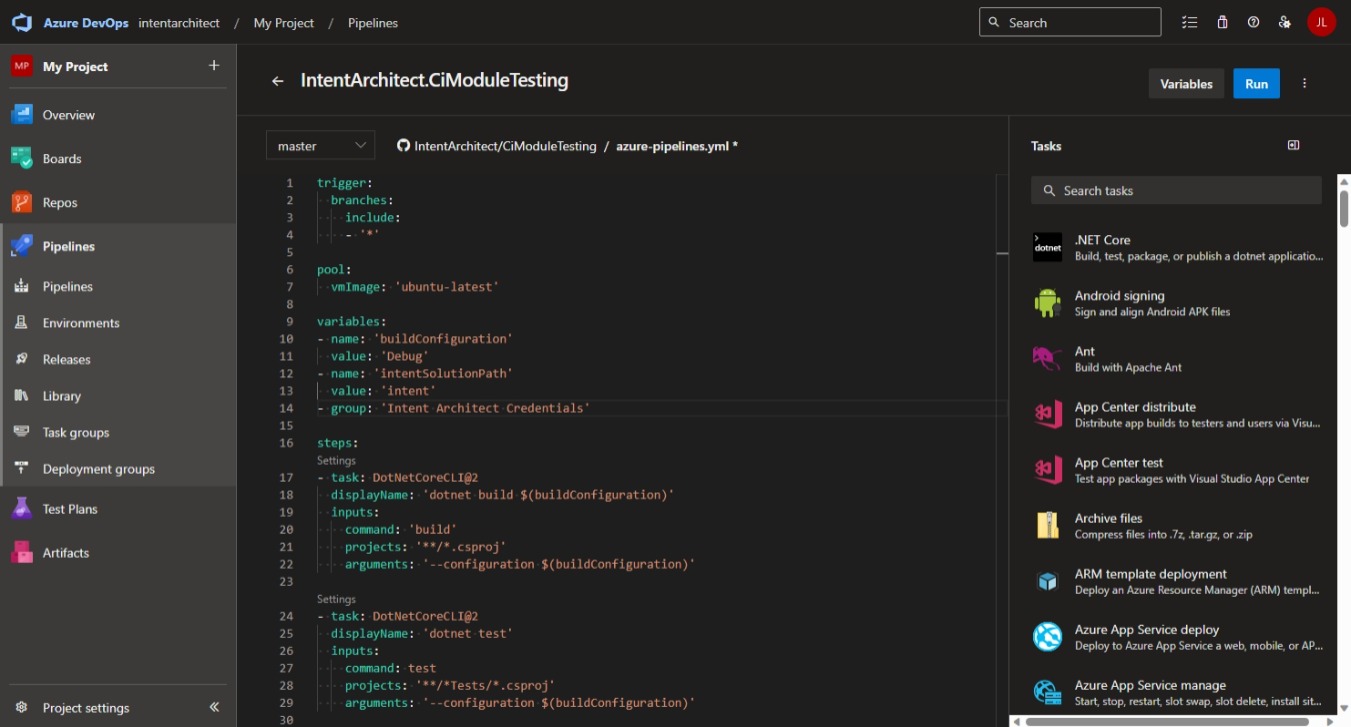
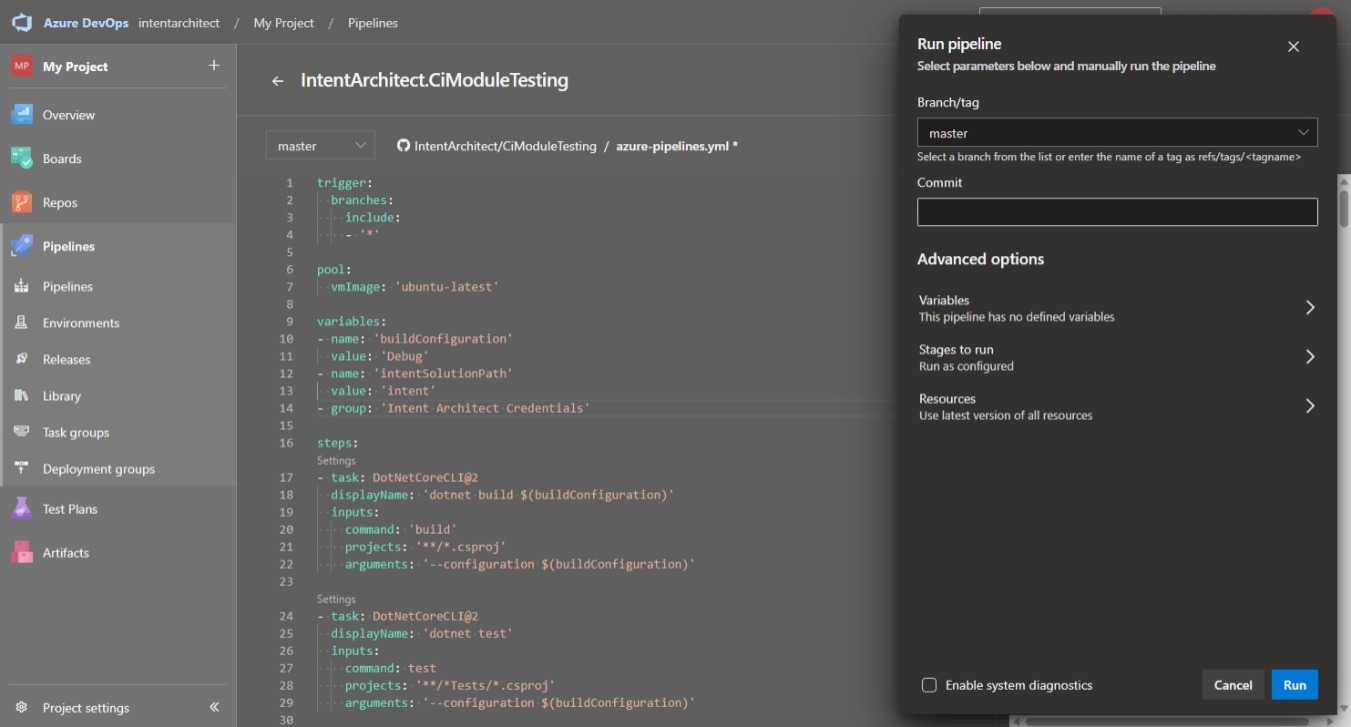
- You can now press the
Runbutton at the top right of the screen. - On the
Run Pipelinedialogue (although not essential, you can update any details as desired and) press theRunbutton at the bottom right.
Once the pipeline has started, you will see that it shows a yellow box saying This pipeline needs permission to access a resource before this run can continue.
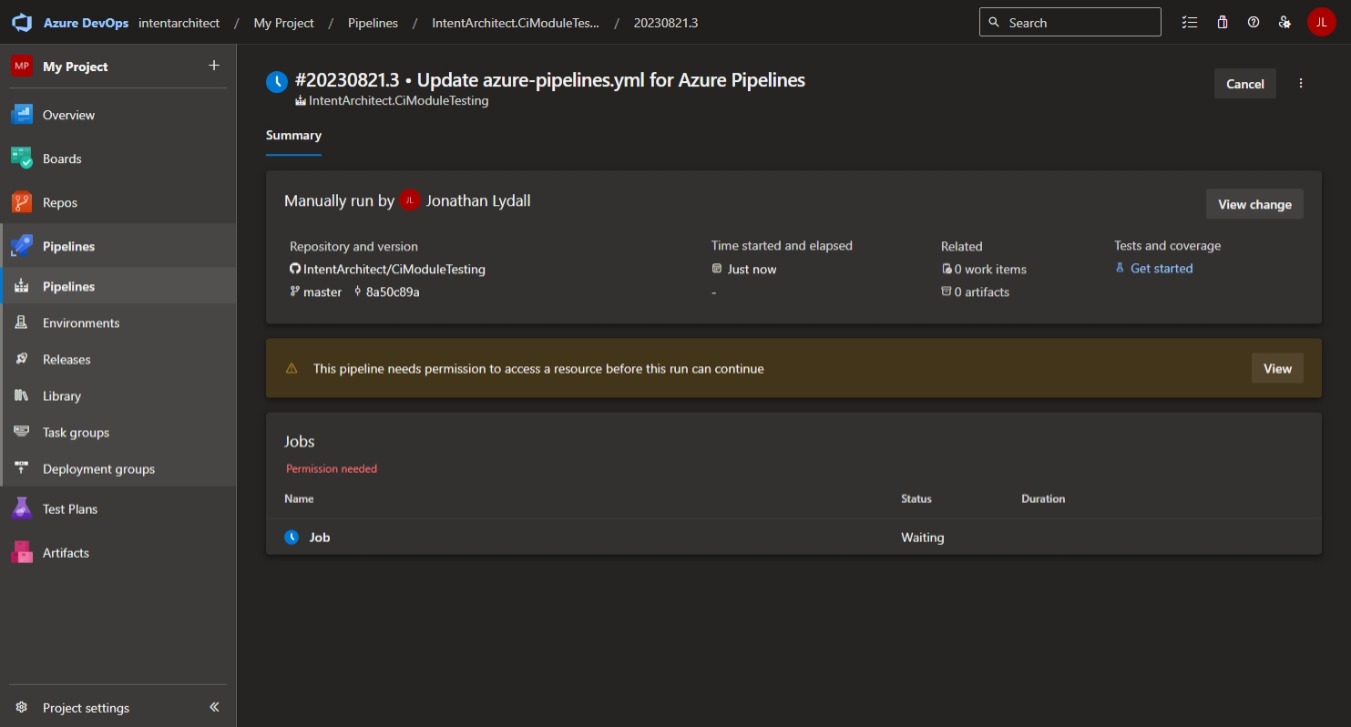
Press the View button in this yellow box.

In the Waiting for review dialogue press the Permit button.
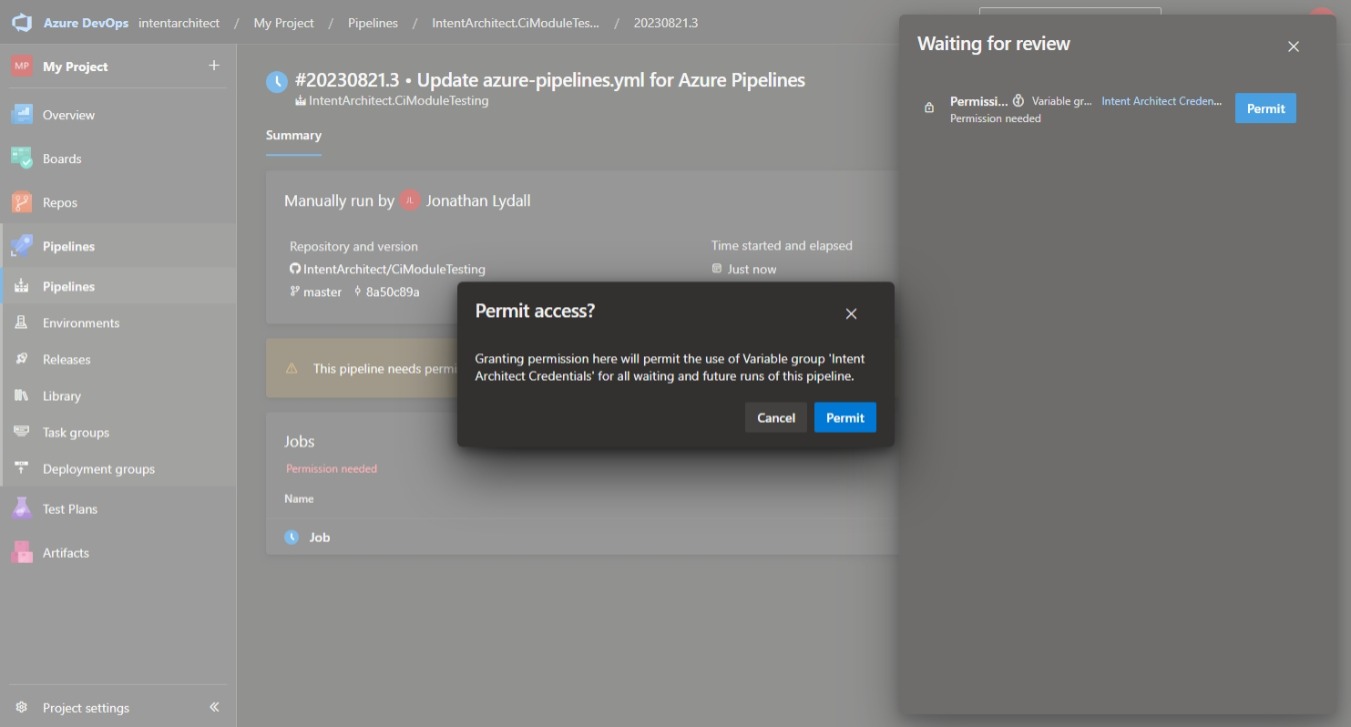
Press Permit on the additional dialogue.
The pipeline should now continue and from this time onwards it will run the Intent Architect Software Factory CLI without further permission granting required.