How to use the Domain Designer
This how-to will help you learn how to use the Domain Designer by working through an example where you will use it to conceptually model how Shapes can be drawn on a Canvas.
Pre-requisites
Ensure you have the Intent.Modelers.Domain module installed and open up the Domain designer by clicking on Domain option in left pane of the screen.
Adding new Classes
- Right-click the background and click the
New Classoption. - Give it a name of
Shape.
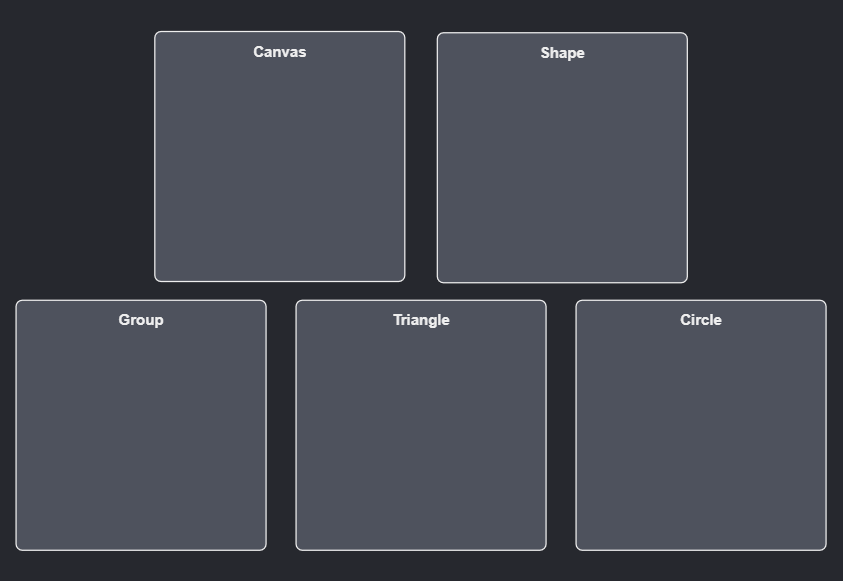
Similarly, create the following additional Classes:
CanvasGroupTriangleCircle
Your diagram should now appear as follows:
Adding Attributes to Classes
To add an Attribute to a Class:
- Right-click the Class and click the
Add Attributeoption. - Give the Attribute a name.
- To change the type, you can use the tab key from the naming to jump to the drop down from where you can select a type. Alternatively you can use the
Typedropdown in the properties pane on the bottom-right.
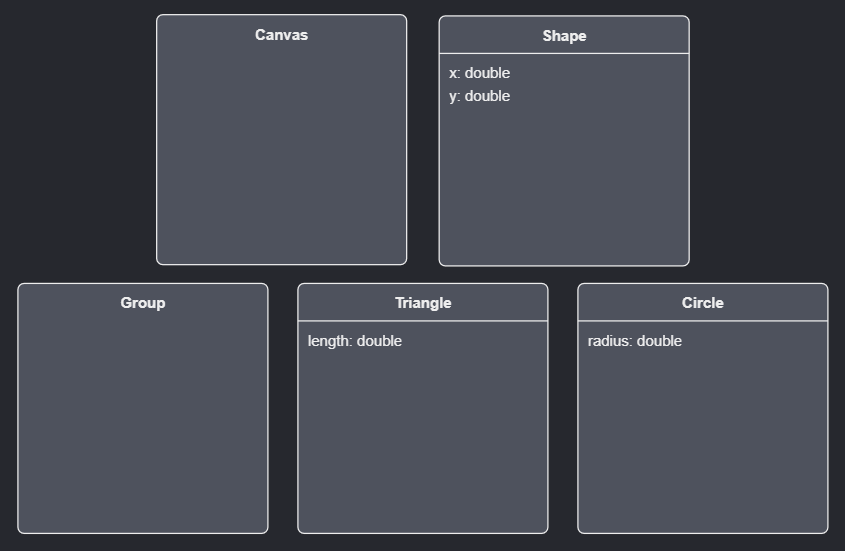
For the Shape Class add the following Attributes:
xof typedouble.yof typedouble.
For the Triangle Class add the following Attribute:
lengthof typedouble.
For the Circle Class add the following Attribute:
radiusof typedouble.
Your diagram should now appear as follows:
Adding Operations to Classes
To add an Operation to a class:
- Right-click the class and click the
Add Operationoption. - Give the Operation a name.
- To change the return type, you can use the tab key from the naming to jump to the drop down from where you can select a type. Alternatively you can use the
Typedropdown in the properties pane on the bottom-right. A blank return type indicates that the function doesn't return a value, or depending on your language,void.
To add a Parameter to an Operation:
- Right-click the Operation and click the
Add Parameteroption. - Give the Parameter a name.
- To set the type of the Parameter you can use the tab key from the naming to jump to the drop down from where you can select a type. Alternatively you can use the
Typedropdown in the properties pane on the bottom-right.
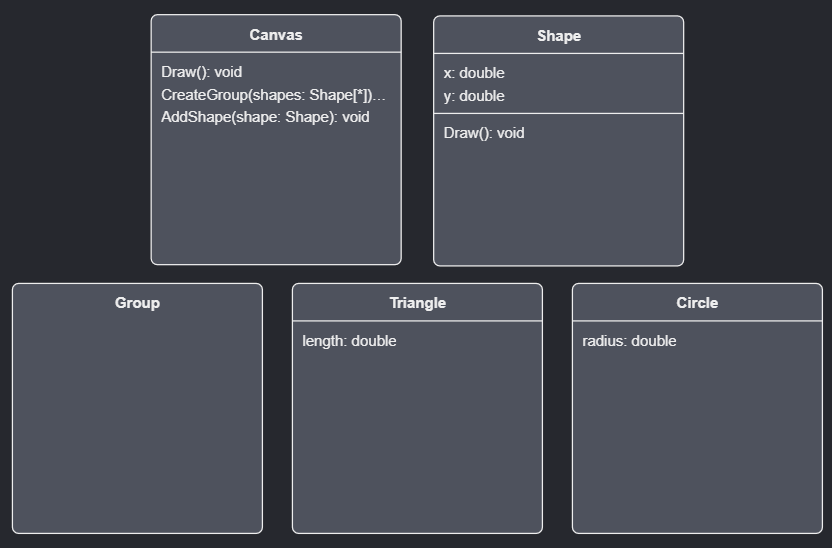
On the Shape Class add the following Operation:
Drawwith no return type.
On the Canvas Class add the following Operations:
Drawwith no return type.CreateGroupwith no return type and the following parameter:shapeswith a type ofShape.- In the property pane in the bottom-right ensure that
Is Collectionis checked.
- In the property pane in the bottom-right ensure that
AddShapewith no return type and the following parameter:shapewith a type ofShape.
Your diagram should now appear as follows:
Adding Constructors to Classes
To Add a Constructor to a Class:
- Right-click the class and click the
Add Constructoroption.
To add a Parameter to a Constructor:
- Right-click the Constructor and click the
Add Parameteroption. - Give the Parameter a name.
- To set the type of the Parameter you can use the tab key from the naming to jump to the drop down from where you can select a type. Alternatively you can use the
Typedropdown in the properties pane on the bottom-right.
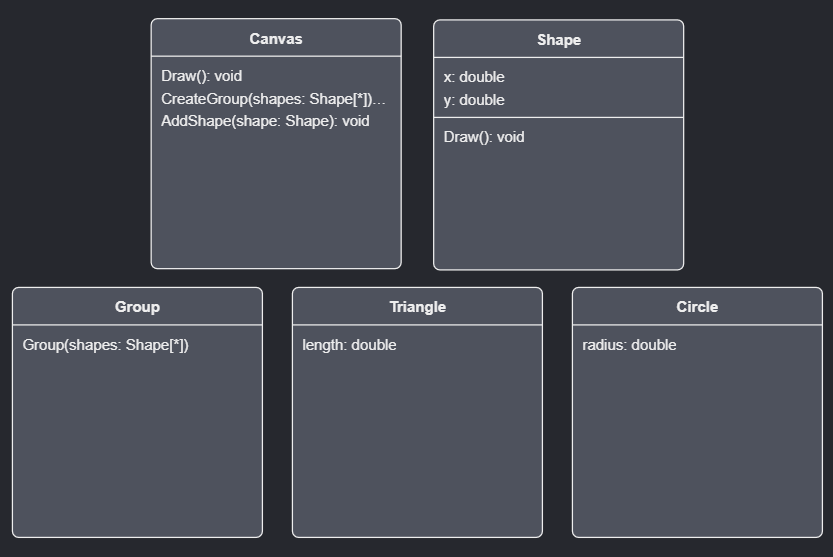
Add a Constructor to the Group Class with the following parameter:
shapesof typeShape.- In the property pane in the bottom-right ensure that
Is Collectionis checked.
- In the property pane in the bottom-right ensure that
Your diagram should now appear as follows:
Adding Associations between Classes
Space out the diagram Classes so that there is some distance vertically between them so that there will be enough room to create and clearly see Associations between them. You're also able to resize the Classes as desired.
- Right-click on the
CanvasClass and click theAdd Associationoption. - Click on the
Shapeclass. - Click on the newly created arrow.
- In the
Target Endsection of the Properties pane tick theIs Collectionfield. - In the
Source Endsection untick theIs Collectionfield.
Similarly create an Association from the Canvas to Group Class and ensure in the property pane that:
Navigableis checked in theSource Endsection.
Your diagram should now appear as follows:
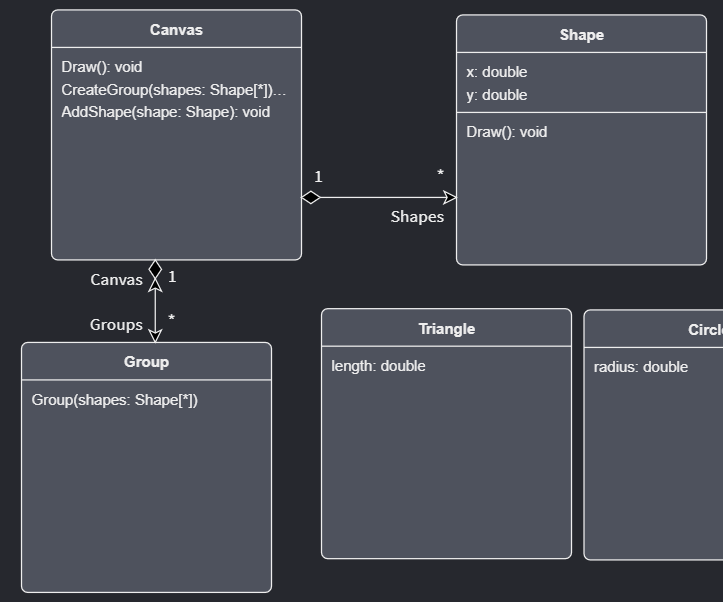
Finally, create an Association from the Group to the Shape Class and ensure in the property pane that:
- In the
Target Endsection that:Is Collectionis checked.
- In the
Source Endsection that:Is Collectionis unchecked.Is Nullableis checked.
Tip
The Associations from Canvas to Shape and Group are called "Composite" Associations, while the Association from Group to Shape is an "Aggregate" association.
You can refer to this article for more information on Association types and modelling them within the Domain Designer.
Adding new Diagrams
To remove Classes from a current Diagram, right-click them and click the Hide option. This does not delete the Classes, (you will see they are still visible in the tree-view pane to the top-right of the window) it has only removed them from the current Diagram.
Tip
You can select multiple Classes at once on the Diagram. One way is by clicking and holding down your mouse button and then dragging the mouse cursor to create a selection box around the Classes you want to select. Alternatively you can multi-select Classes by using the Ctrl key to select / de-select them.
Hide the following Classes from the current Diagram:
ShapeTriangleCircle
On the tree-view located in the top-right pane of the window:
- Right-click on the
Domainpackage and clickNew Diagramoption. - Give it the name
Shapes Diagram - Double-click on it to "enter" into it.
We now want to add Classes to the Shapes Diagram, for each class we want to add:
- Click the element in the tree view to select it.
- Click-and-hold your mouse button on the element.
- Drag your mouse cursor to over the Diagram view.
- Release the mouse button to which will "drop" the element on the Diagram, adding it to it.
Tip
You can use the Ctrl key to select / de-select multiple Classes at once and then drag them all at once onto the Diagram.
Now re-add the classes which were removed from the other Diagram, namely the following:
CircleTriangleShape
Lay them out so that Shape is located center-top of the diagram, Triangle bottom-left and Circle bottom-right.
Tip
When you have a Diagram element selected in the tree-view, in the Properties pane in the bottom-right there is a New diagram elements field. When you right-click a Diagram and click the New Class option, Intent Architect will create the Class in the package selected in that New diagram elements field.
Warning
Don't try to copy / cut these diagram elements when wanting to move/duplicate those elements onto separate diagrams since it will affect the actual elements on the tree-view (right hand side) and may have undesired effects. Rather refer to the video above when wanting to move/duplicate elements onto a separate diagram.
Specifying inheritance between the Classes
To specify that a Class is derived (or inherited) from another:
- Right-click the Class that should be derived from another Class. An "inheritance relationship" line will appear at your mouse cursor.
- To complete the creation, click on the Class from which that Class should be derived.
Make it so that the following Classes are derived from Shape:
TriangleCircle
Your diagram should now appear as follows:
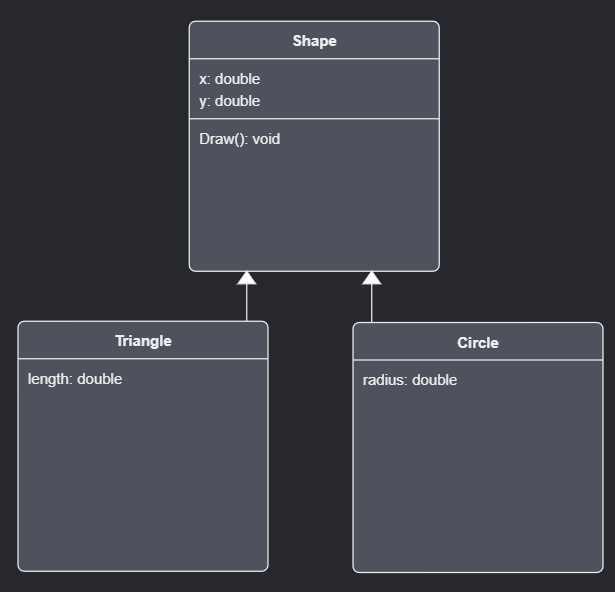
Note
Even though you may not be able to visually see the Associations on the Diagram, adding / removing Classes to Diagrams has not actually affected or removed them.
It is always possible to see all Associations on a Class as sub-elements on the Class in the tree-view in the top-right pane, locate Shape (for instance), expand it to show its contents and you will notice that there are four Associations:
GroupCanvasCircleTriangle